38 how to make labels on cricut explore air 2
How to Make Stickers and Labels with a Cricut Machine - Kaleidoscope Living How to Make Stickers & Labels With a Cricut Machine. This tutorial will show you how I created a cute sticker label for my DIY bug spray, but you can use the same methods to create any kind of sticker or label for yourself! Materials Needed: A cutting machine (I use the Cricut Explore Air 2) Cricut Printable Sticker Paper; this idea. How to make labels with Cricut Make labels with Cricut Step 1 To design from scratch, click "New Project" on the home page of Cricut Design Space. Step 2 Once on the canvas, on the left-hand navigation bar, you'll see an option for "Images." Step 3 Click that button. You'll now be able to search in the Cricut image library!
How to Make DIY Return Address Labels with Cricut Follow the prompts in Cricut Design Space to print the address labels onto clear sticker paper using your printer. Lay the printed sheet of labels onto a StandardGrip mat and load the mat into the machine. Cut labels. Peel and apply to the upper left-hand corner of the envelope. Or you can place them on the back flap as well.

How to make labels on cricut explore air 2
Print Then Cut: How To Make DIY Stickers With Cricut Explore Air 2 To cut thin sticker paper, you'll need the blue LightGrip mat. If you are able to use the Cricut brand sticker paper, you will need the green StandardGrip mat. Align your paper in the top left corner of your mat, smoothing the paper so it lies flat and sticks. Load the mat into the machine. 3 Creative Ways to Make Labels with a Cricut AFTER you cut them apart, run them through the machine a few more times to really seal up the edges. Also, if you don't have a laminator, a reader recently suggested you can get the same durability using clear contact paper - brilliant! To secure these labels to the baskets, I used adhesive-backed Velcro! How to Turn Your Cricut into a Label Maker for Custom Organization Align your label on your item and press firmly to make sure the vinyl attaches to your item. You can also use the scraper tool to press down for this step. Slowly peel off the transfer tape from the top left corner towards the bottom right corner to finish the process and "unveil" your finished project.
How to make labels on cricut explore air 2. How to make back neck labels for your t-shirts using the cricut explore ... SHOP NOW this video I show you how easy it is to make your own labels for your t-shirts to make your clothing ... Online Labels® Sticker Paper Cut Settings for Cricut Explore Air Updated 02/07/2022 • ~1 minute read Our expert crafters have hand-tested the Cricut Explore Air™ with OnlineLabels sticker paper to bring you the exact cut settings for each material. Continue to the chart below to find the cut settings for kiss cut and full cut stickers. Materials were tested on a Cricut Explore Air with the fine-point blade. HOW TO MAKE LABELS WITH CRICUT | PANTRY LABELS - YouTube #diylabels #cricutexploreair2 #howtomakelabelsWelcome to my channel! This video I am going to show you how I make my own labels using my cricut explore air 2... HOW TO MAKE GIFT TAGS WITH THE CRICUT EXPLORE AIR 2 AND ... - YouTube I'm so excited to share my DIY Holiday gift tag tutorial. I created this tag using the Cricut Explore Air 2 and the Cricut Foil Transfer Kit. I love how beau...
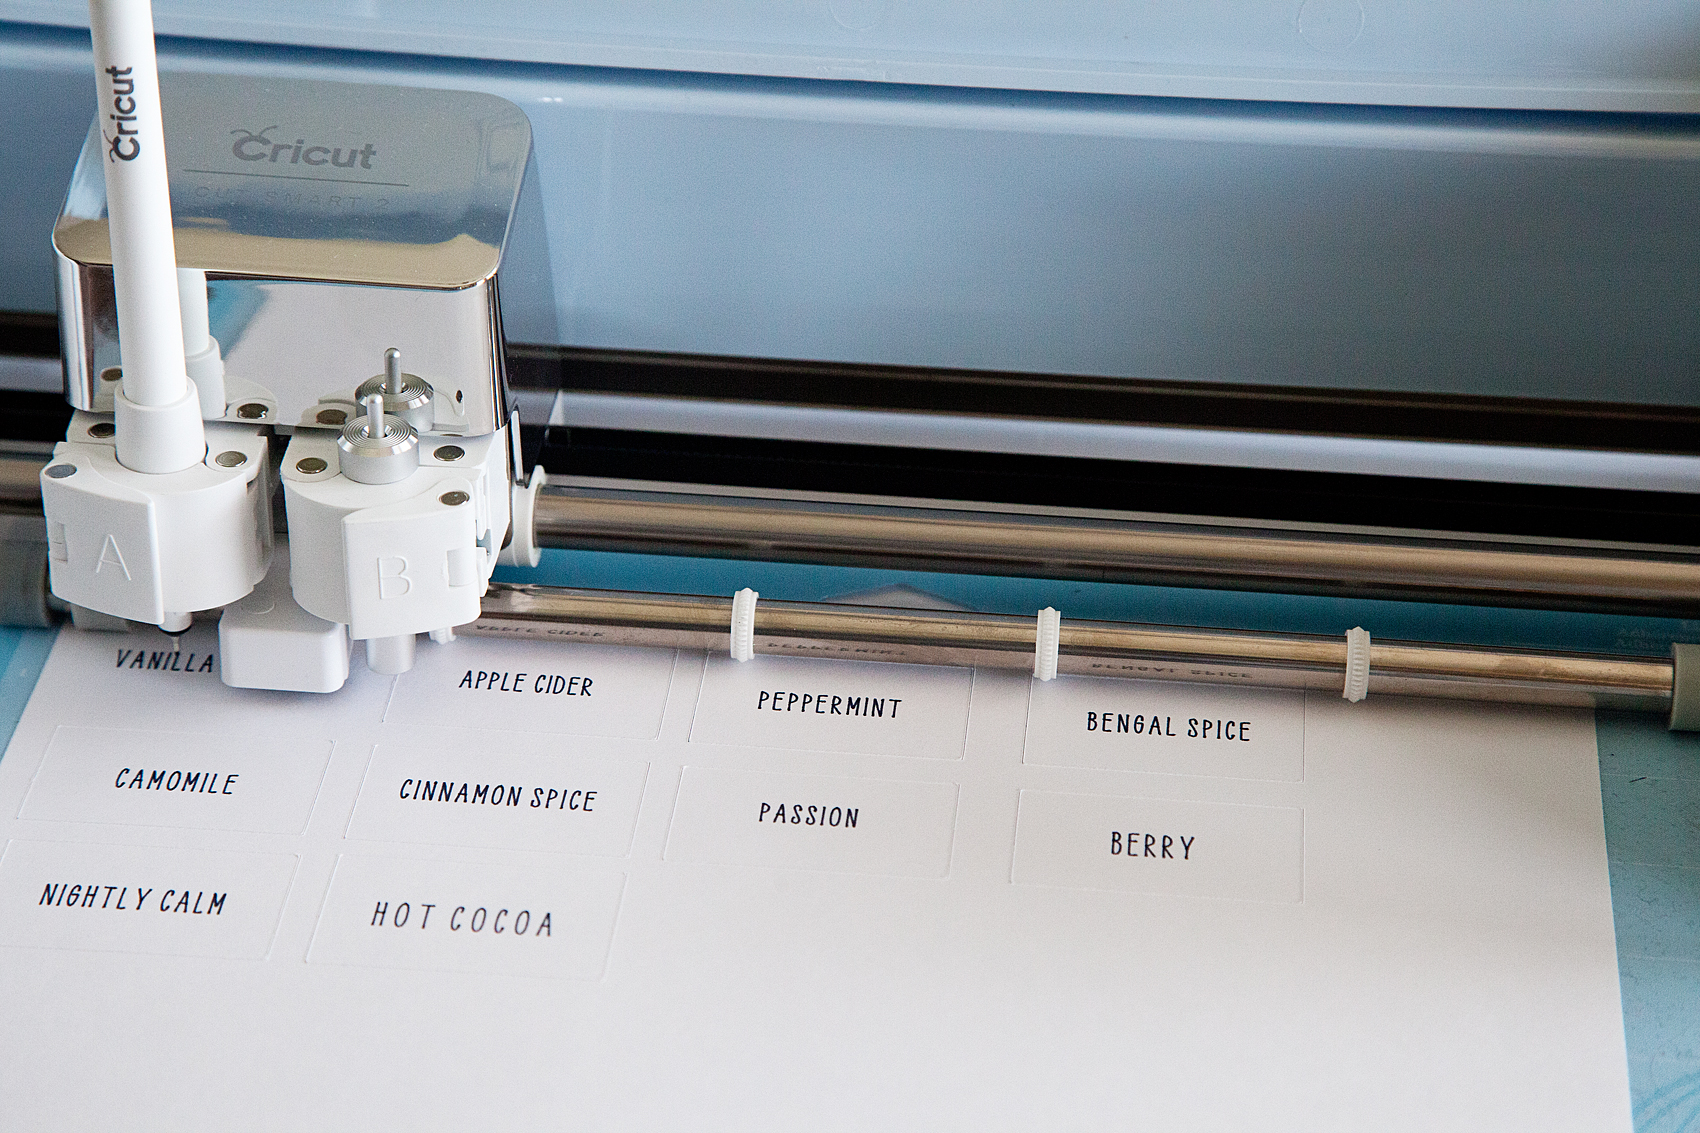
HOW TO MAKE LABELS WITH CRICUT | PANTRY LABELS - Pinterest Here's an easy step-by-step guide with screenshots for how to create farmhouse pantry labels in Design Space! Use Cricut Design Space to make pantry labels for pantry organization and organize your flour, sugar, oats and more! Great ideas for Cricut projects to sell! T The Savvy Sparrow crafts Kitchen Canister Labels Kitchen Jars Kitchen Dishes 3 Ways To Make Labels With Your Cricut - YouTube It's a lot easier than you may think, and in this video, Rachel shows three different ways you can make labels with your Cricut. From drawing to print then cut, labels can be made easily and with... Making Labels with the Cricut Joy for Home Organization Once you have your label shape ready to go, it's time to put in text and/or images! For text, create a new text box. Go up to the font panel and under "filter" select "writing". This will automatically make the font show up as a writing font. You must make it writing! In the upper design panel, with your font selected, change the line type to draw. Making Return Address Labels with your Cricut Explore - Mean Right Hook 3. Then write out your last name in the font of your choice. I picked Pilgi from my system fonts. 4. Select both your name layer and the rectangle layer, then weld them together. 5. Next write out your address. I picked a cute san serf font. Then select both the label layer and the address layer and center horizontally align them so the address ...
How to Make Labels with a Cricut | The DIY Mommy - YouTube Learn how to make DIY vinyl labels with Cricut for organizing your home or labeling handmade products! Subscribe to my channel for more DIYs: ... How to Make a Craft Supplies Organizer - The Country Chic Cottage Click flatten in the lower right-hand corner to make this a print then cut label and it is ready for your machine! Be sure to delete any labels you don't want to use before continuing. Step 3: Making Printable Decorative Labels with Print Then Cut Now it is time to use print then cut to actually make our printable labels. DIY Pantry Labels made with Cricut Explore Air 2 To make the labels, I measured the size of the jars so I knew how large I wanted the font. I used the Cricut Design Space to design the labels. Then I cut the labels (I used Oracal 651 Vinyl). Using rubbing alcohol I cleaned the side of the jars, let them dry, then I used transfer tape to transfer the vinyl. To ensure a good seal I pressed down ... Create Handwritten Labels by Cricut - WhipperBerry Pretty basic. However, you can create all kinds of great "handwritten" labels with fancy shapes as well. I created a Label Design Pinterest board with some inspiration for all kinds of fun "handwritten" labels that you can make with the Cricut Explore Air 2. How to Make Your Own Handwritten Labels With Cricut Explore Air 2. With all of ...
What Materials Can Be Cut with the Cricut Explore? | artsy-fartsy mama
How to Make Product Labels using Cricut Explore Air 2 - YouTube #cricutmade ⭐️ SHOP CRICUT EXPLORE AIR 2 - video is sponsored by Cricut☁️How to design and make labels waterproof - ...

My Favorite Things about the Cricut Explore Air 2 + Halloween Mantel - Over The Big Moon
PDF How to make labels on cricut explore air 2 - ihdbd.org It's similar to the Cricut Explore Air 2, but has a few added capabilities. The biggest differences between Cricut Explore 3 and Cricut Explore Air 2 (see details below) is that Cricut Explore 3 can cut "matless" Cricut Smart Materials, meaning you are not limited to the length of a cutting mat.

How to Create Personalized Stationery With the Cricut Explore Air 2
Easy DIY Back to School Labels Made with a Cricut - The Quiet Grove Thanks to my Cricut Explore Air 2 making labels for my kid's supplies is quick and easy. (better even than handwriting them in permanent marker (and easier to read for sure.) While it is fine to use regular vinyl (and stranger tape) for larger labels. (Iike on each folder) when labeling small items (like crayons, pens, markers etc) I ...

What is a Cricut Explore Air 2 and What Can it Do? | Cricut explore, Cricut explore air, Cricut ...
How to Make DIY Cricut Pantry Labels - Andrea Peacock Weed out labels with a weeding tool. Cut labels out with scissors. Cut out a piece of transfer tape or contact paper and peel off the clear layer. Stick clear sticky layer on top of vinyl label, and press down with a scraper tool. Peel off clear layer, making sure the vinyl letters stick to the clear layer. Stick label onto your jar.

The Cricut Explore Air 2 is the Ultimate Gift and Here’s Why | Cricut explore, Cricut explore ...
How to Make Stickers with Cricut Explore Air 2 - Print On Demand World And what if we show you how to get your stickers made, all by yourself, using the wonderful die-cutting machine, Cricut Explore Air 2? All you need is to: 1. Go to the Cricut Design Space App and open a new canvas 2. Upload your saved sticker file, adjust the paper's size and print it 3.

Pin on Cricut
Print then Cut Stickers with the Cricut Explore Air 2 Arrange your different pieces onto the sticker. Finally, select all the pieces of your sticker and choose Attach. This makes all of the pieces of the sticker into 1 file. Choose edit and change the size to 1.5 inch. Click Go and change the number to 20 and click apply. Choose the size from the drop down menu and click Go.

Make Craft Room Labels with Cricut Joy | Cricut craft room, How to make labels, Craft room
How to Write on Tags & Labels With Cricut Pens With a (gold) pen inserted into slot A on your machine (I used the 2.0 weight ), load your template back into the machine and hit the flashing Cricut button. The machine will then re-cut your single "registration" mark (the upper left square) and then proceed to write directly onto your pre-cut items! If you have lots of labels to make ...

How to Create Personalized Stationery With the Cricut Explore Air 2
HOW TO MAKE PANTRY LABELS WITH CRICUT - YouTube It's a new year, and I am getting my pantry organized with custom vinyl pantry labels with my Cricut Explore Air 2. I am sharing exactly how I designed the l...

Pin by Judy Kirkpatrick on crafts wreathing | Cricut explore air 2, Cricut explore air, Etsy
How to Make Vinyl Labels with a Cricut Cutting Machine Step 1- Gather your supplies for making vinyl labels. Cricut Explore Air 2 Cutting Mat Cricut Premium Vinyl (I used teal.) Weeder and Scraper Tools Transfer Tape Label Project in Cricut Design Space Step 2- Create your design. If you are using a Cricut machine, you can find my exact project in Cricut Design Space here.
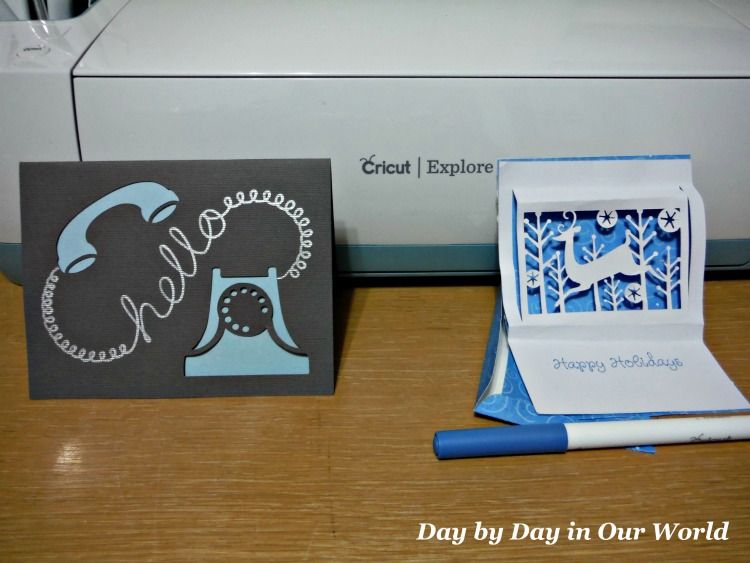
Easy Projects with the Cricut Explore Air | Day By Day in Our World
How to Turn Your Cricut into a Label Maker for Custom Organization Align your label on your item and press firmly to make sure the vinyl attaches to your item. You can also use the scraper tool to press down for this step. Slowly peel off the transfer tape from the top left corner towards the bottom right corner to finish the process and "unveil" your finished project.

How to Create Personalized Stationery With the Cricut Explore Air 2
3 Creative Ways to Make Labels with a Cricut AFTER you cut them apart, run them through the machine a few more times to really seal up the edges. Also, if you don't have a laminator, a reader recently suggested you can get the same durability using clear contact paper - brilliant! To secure these labels to the baskets, I used adhesive-backed Velcro!
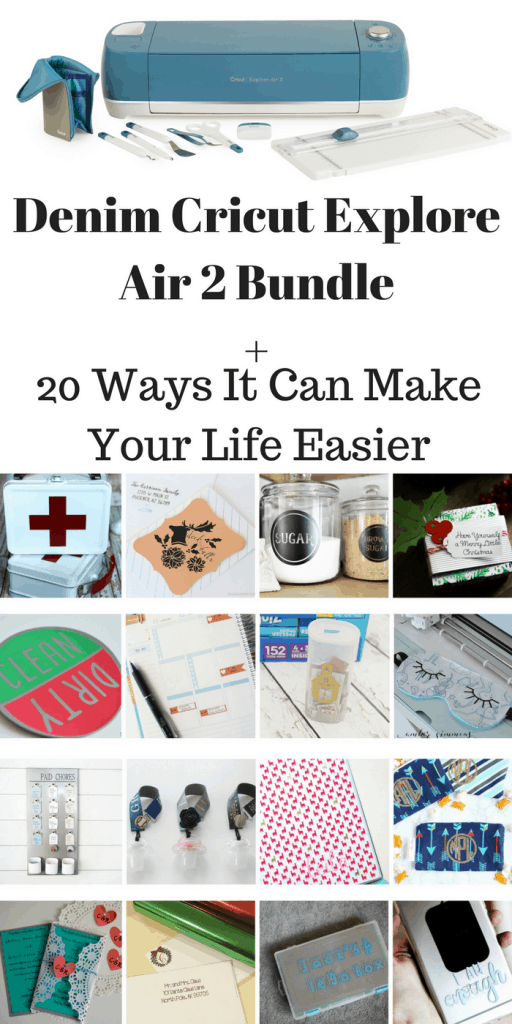
New Denim Cricut Explore Air 2 Bundle + 20 Ways It Can Make Your Life Easier - Tastefully Frugal
Print Then Cut: How To Make DIY Stickers With Cricut Explore Air 2 To cut thin sticker paper, you'll need the blue LightGrip mat. If you are able to use the Cricut brand sticker paper, you will need the green StandardGrip mat. Align your paper in the top left corner of your mat, smoothing the paper so it lies flat and sticks. Load the mat into the machine.

Cricut Explore Air 2 | Cricut Learn

Pin on Cricut explore air projects
Create Handwritten Labels by Cricut - WhipperBerry
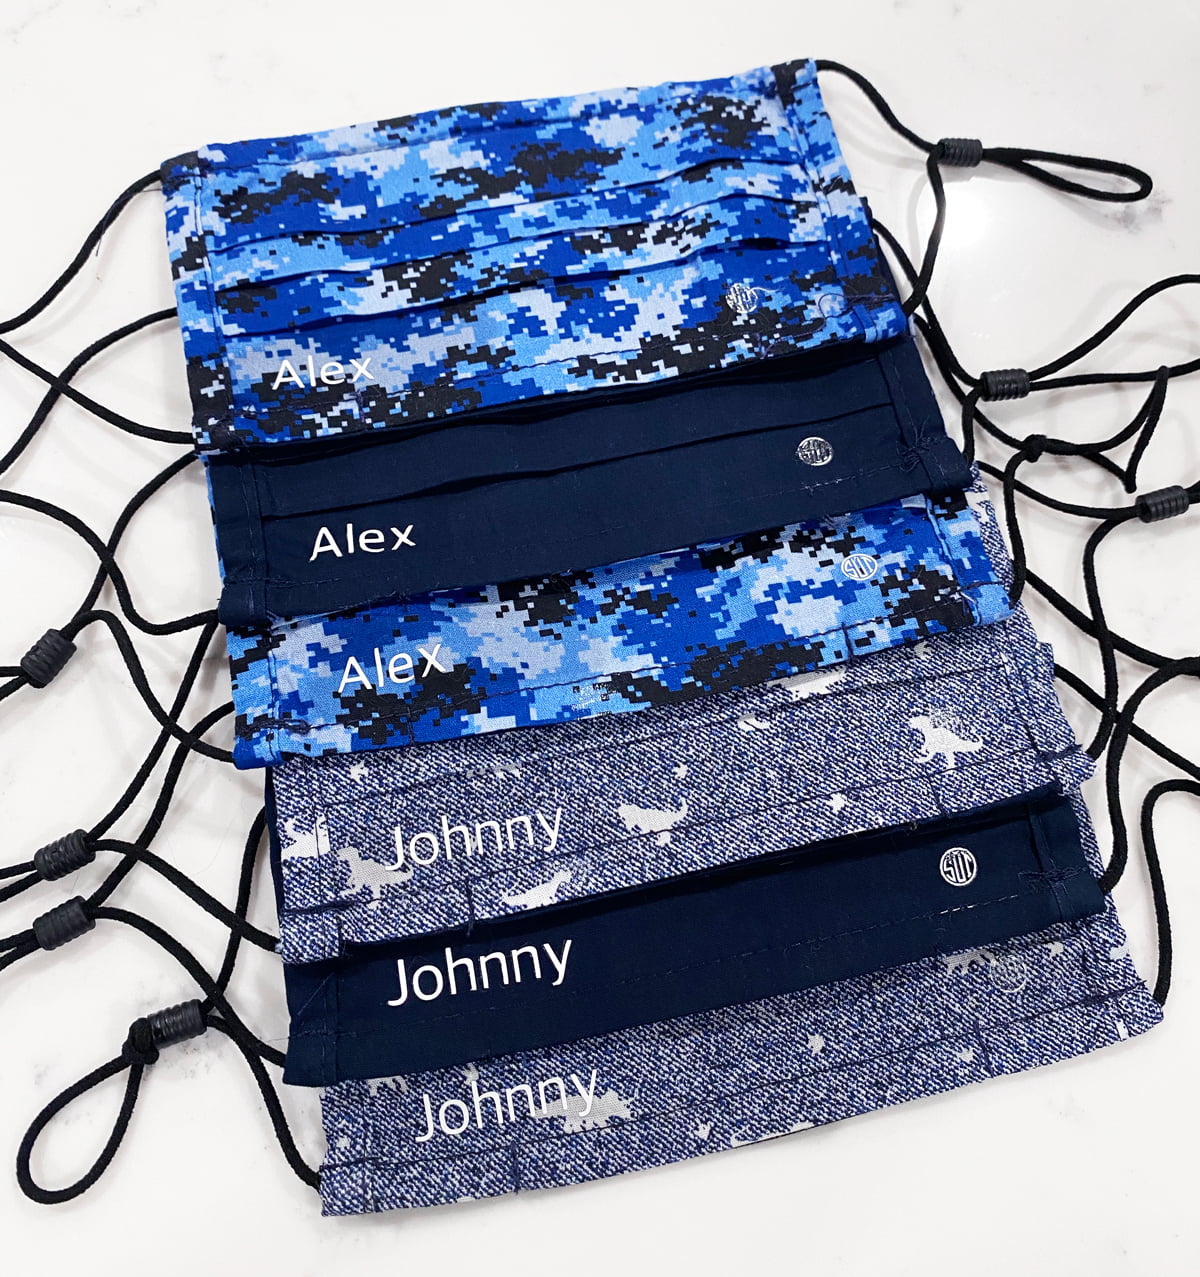
Face Mask Labels - Weekend Craft

What is the Cricut Explore Machine and What Does it Do?
Post a Comment for "38 how to make labels on cricut explore air 2"